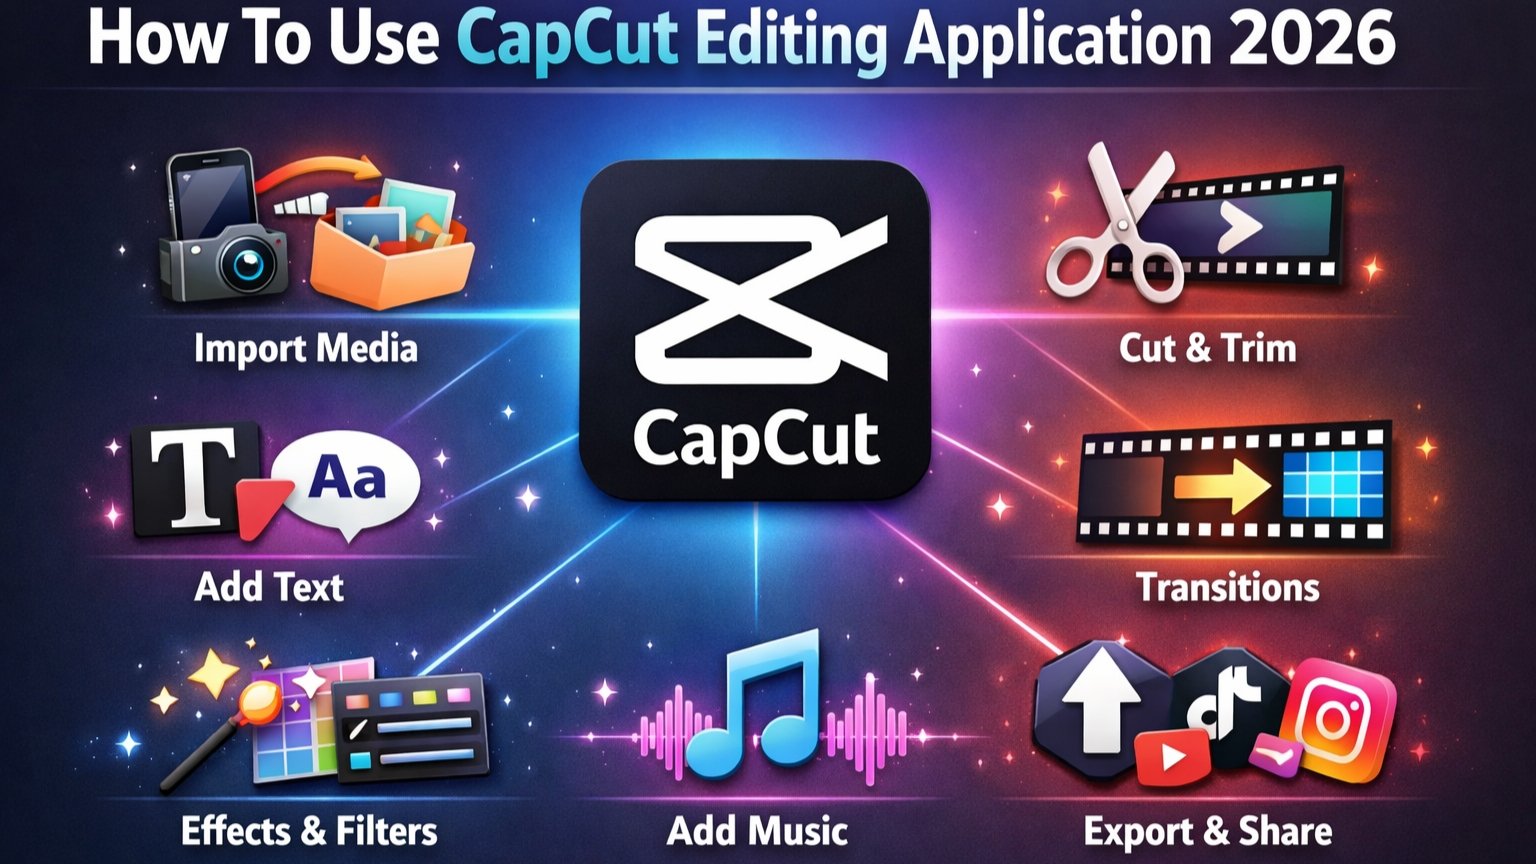
In today’s digital world, video content plays a major role on platforms like Instagram, YouTube, and Facebook. To create attractive and professional videos, you need a powerful yet simple editing tool. CapCut is one of the most popular free video editing applications available for Android, iOS, and desktop users. It offers easy controls, advanced features, and ready-made templates that help beginners edit videos like professionals. In this guide, you will learn how to use CapCut step by step in simple language.
Step 1: Download and Install CapCut
Search for CapCut and install the application. After installation, open the app and allow necessary permissions such as storage, photos, and media access. This permission is required to import videos and export edited content.
Step 2: Start a New Project
On the home screen, tap on the “New Project” button. Select the videos or photos you want to edit from your gallery and tap “Add.” Your selected clips will appear in the timeline at the bottom of the screen. The timeline is where you control and edit your entire video.
Step 3: Trim and Split Clips
To remove unwanted parts, tap on a clip in the timeline. Drag the edges of the clip to trim it. If you want to cut the video into two parts, move the playhead to the desired position and tap the “Split” option. This helps you delete mistakes or unnecessary scenes easily.
Step 4: Add Music and Audio
Music makes your video more engaging. Tap on the “Audio” option and choose from the built-in music library or import a song from your device. You can also record voiceovers directly inside the app. Adjust the volume and align the music with your video scenes for better results.
Step 5: Add Effects and Filters
CapCut provides various effects such as cinematic filters, blur effects, glitch effects, and trending transitions. Tap on “Effects” to explore visual styles. To add transitions between two clips, tap on the small transition icon between them and select your preferred animation. Smooth transitions make your video look professional.
Step 6: Insert Text and Stickers
If you want to add captions or titles, tap on the “Text” option and select “Add Text.” Type your content and customize the font, color, animation style, and size. You can also add stickers to make your video more creative and eye-catching, especially for social media reels.
Step 7: Adjust Video Quality
Use the “Adjust” option to control brightness, contrast, saturation, sharpness, and temperature. These settings help improve overall video quality. You can also change the aspect ratio based on your platform, such as vertical (9:16) for reels or horizontal (16:9) for YouTube videos.
Step 8: Export and Share
Once your editing is complete, tap on the export button in the top corner. Higher resolution provides better clarity but may take more storage space.
Conclusion
CapCut is a powerful yet beginner-friendly video editing application. With features like trimming, music syncing, effects, text animation, and high-quality export, anyone can create professional-looking videos without advanced skills. Practice regularly, experiment with different tools, and explore trending templates to improve your editing style. With time and creativity, you can produce impressive videos easily using CapCut.